Designing with daylight, not against it
A short field guide to how we measure, draw, and model daylight at the studio, and the small habits that have made the biggest difference.
By Anders Møller

Daylight is the only material in a building that arrives free, changes every minute, and cannot be returned to the supplier. We treat it as the most important specification in a project and we draw it before we draw walls.
Step one: walk the site at the worst hour
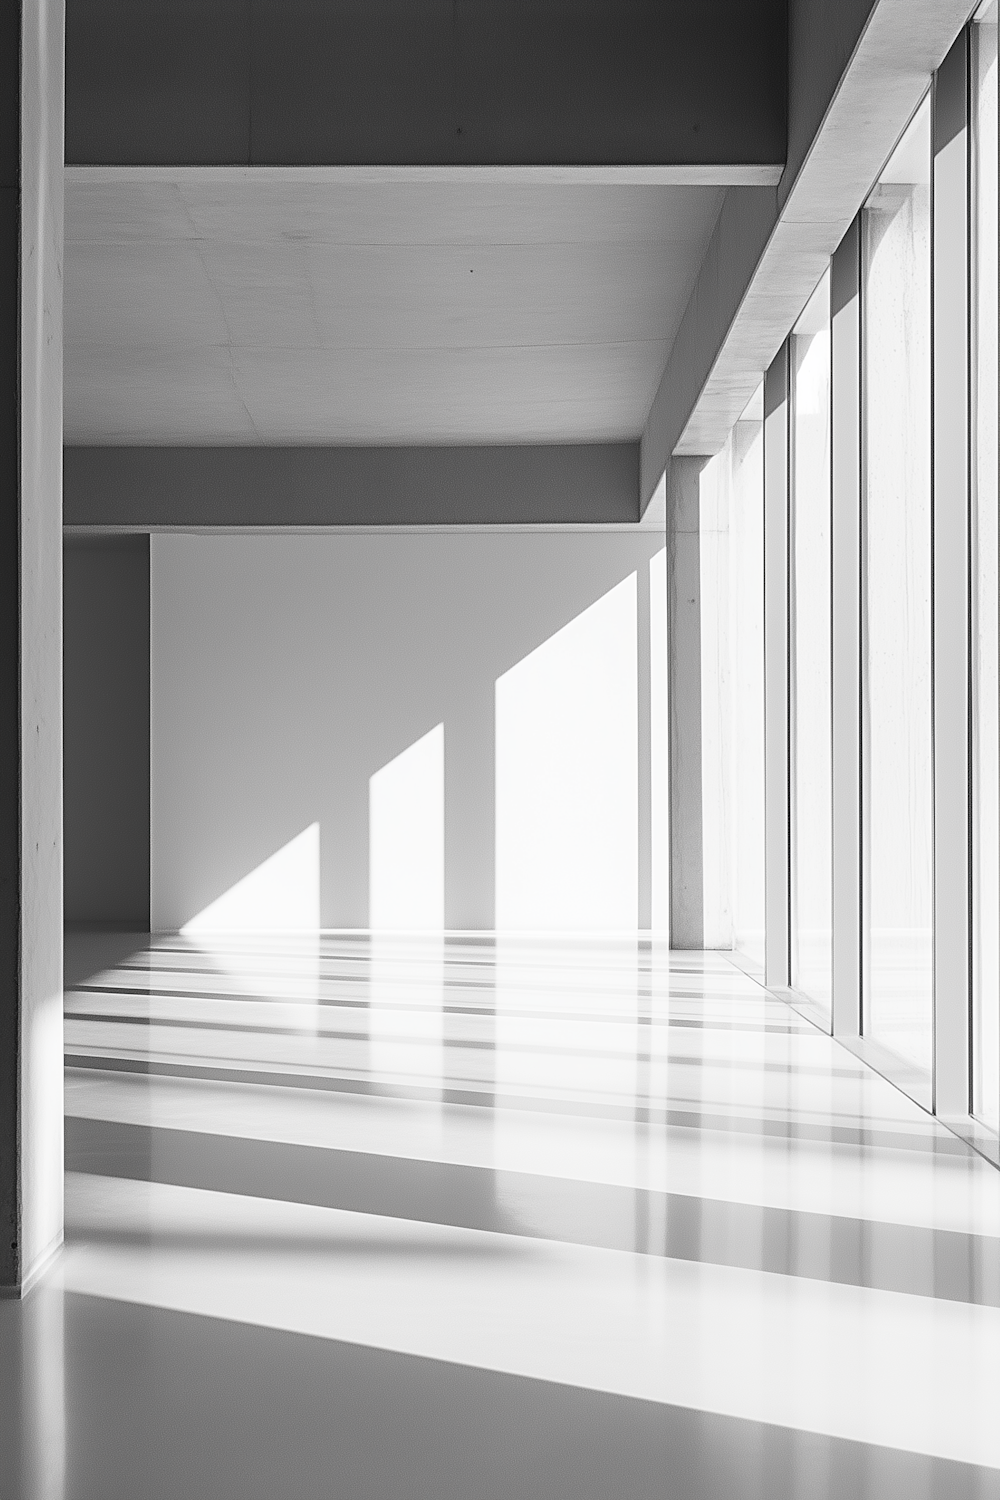
Every project begins with a site visit between 14:00 and 16:00 on the shortest plausible day of the year. We bring a folding stool and a paper compass. We sit. We watch where the light is, and more importantly where it is not. The early sketches are not of the building. They are of the shadow it will cast at four in the afternoon in January.
Step two: aperture before plan
The window openings are drawn before the floor plan. This sounds backwards. In practice it means the rooms are organised around the few moments of usable winter light, and the rest of the plan settles itself around those moments.
- Read sills with the cooking surface in mind, not the eye.
- Wide reveals do more for a small window than a larger pane ever will.
- A south window without a deep overhang is a mistake the building will repeat every summer.
- Two small windows on adjacent walls almost always feel better than one large window.
Step three: model in cardboard, not the screen
Daylight simulation software is useful for compliance and almost useless for design. A 1:50 cardboard model held to the actual sky in the studio courtyard will tell you in thirty seconds what the screen tells you in three days. We still use the software. We do not trust it before we have held a model.
“A drawing can lie about light. A cardboard model in a real window cannot.”